Learning Blender - Part 4
#Design
Welcome to the 4th part of my Learning Blender series. If you haven’t read the first three parts, you can read them here:
This week I started with an experiment🧪. I converted one of my visuals into 3D. The final result was not amazing, but I’m proud because I made it without watching tutorials. Here is the final result.
The shadow and light don’t look good. But I will improve it next time💪.
My 6th Blender project was creating a Sofa Chair. Here is the link to the tutorial I followed for making it - Chair Modeling Tutorial by Polygon Runway.
Creating the chair was really simple. First, I made a basic shape of it and deleted the half part of it, then applied Mirror Modifier.
This way, I can focus on editing the half chair, and the modifier will replicate it on the other half.
After completing the chair, I made a small round table. Creating the table was really simple. It took me only 3 minutes to make it. After completing it, I saw the scene looked boring. So I thought of adding my previous blender projects to the scene.
But there was a problem. I couldn’t find an option to do it. I clicked the Import button, and it didn’t have an option to import the blender file. So I checked YouTube and quickly found a solution - Import Blender Files.
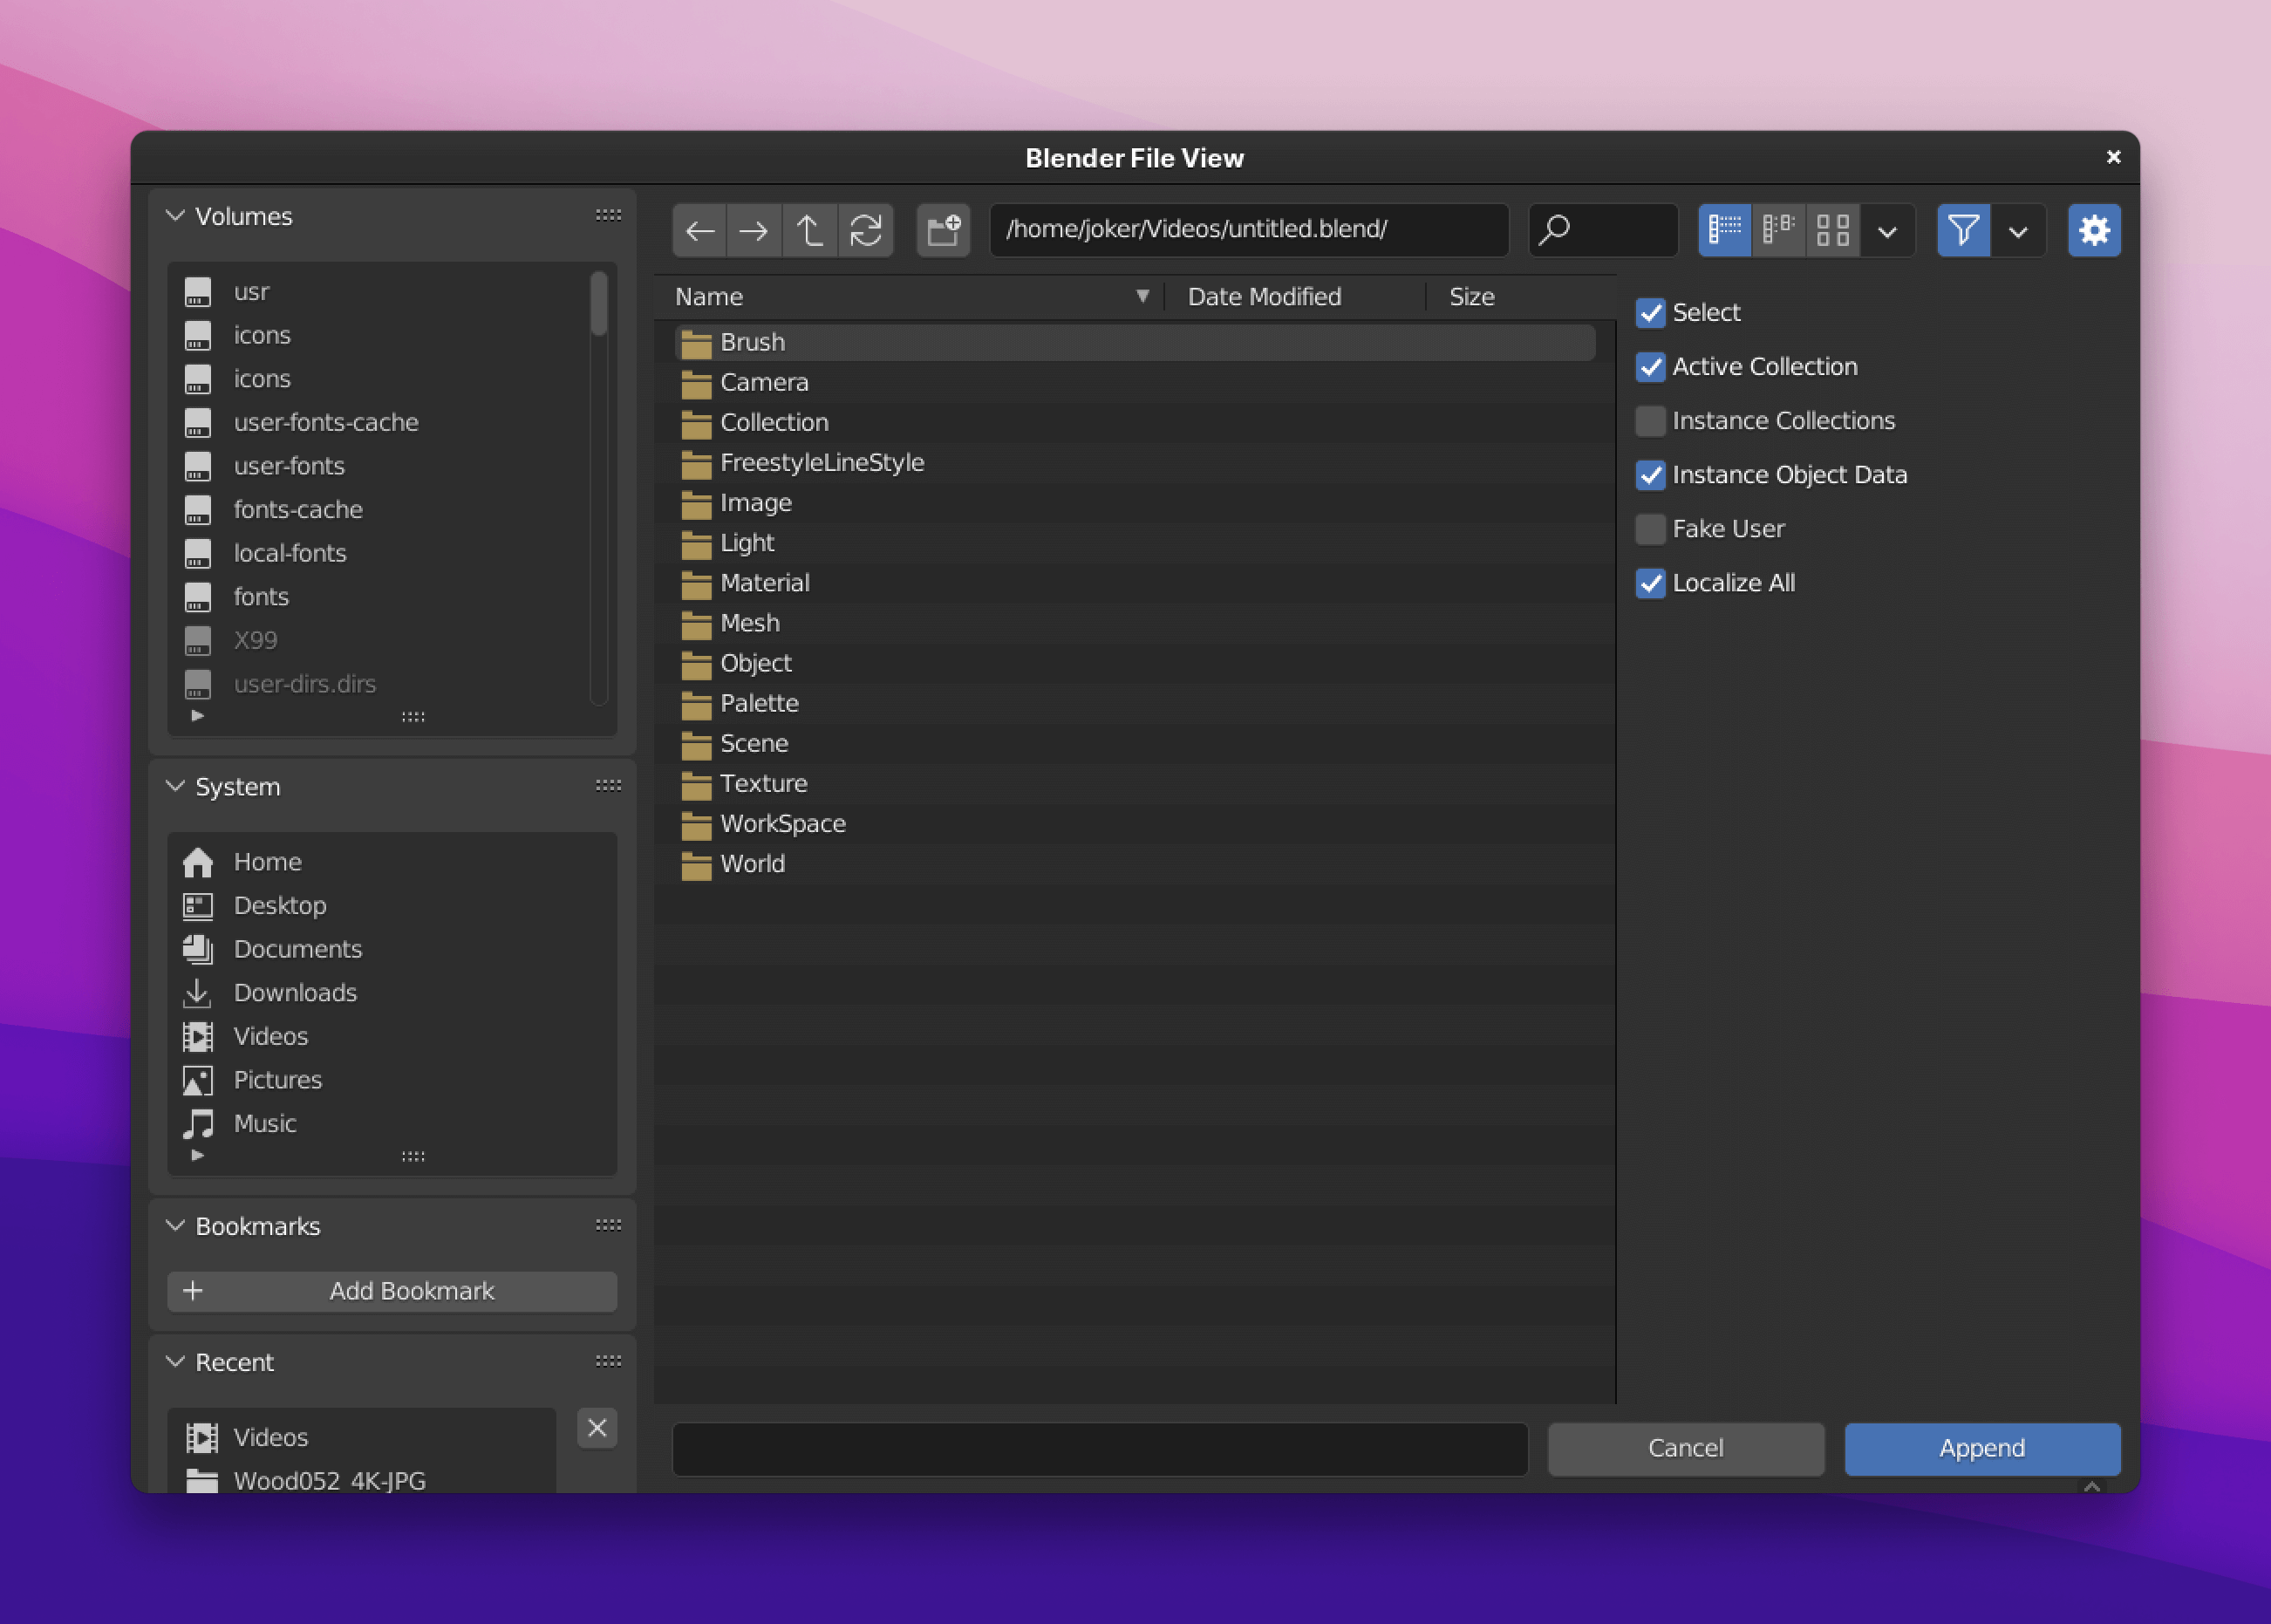
The solution was to use the Append feature found under the File option. Then I chose my blender file, and a new window opened with many folders.
The guy in the video recommended using the Collections folder. This way, I can import the materials & lighting along with the object.
Following this method, I added my Pokeball, plant & glass to the scene. And oh boy! now the scene looks beautiful😍.
Then I added materials to the objects. In the case of my imported objects, it was already applied.
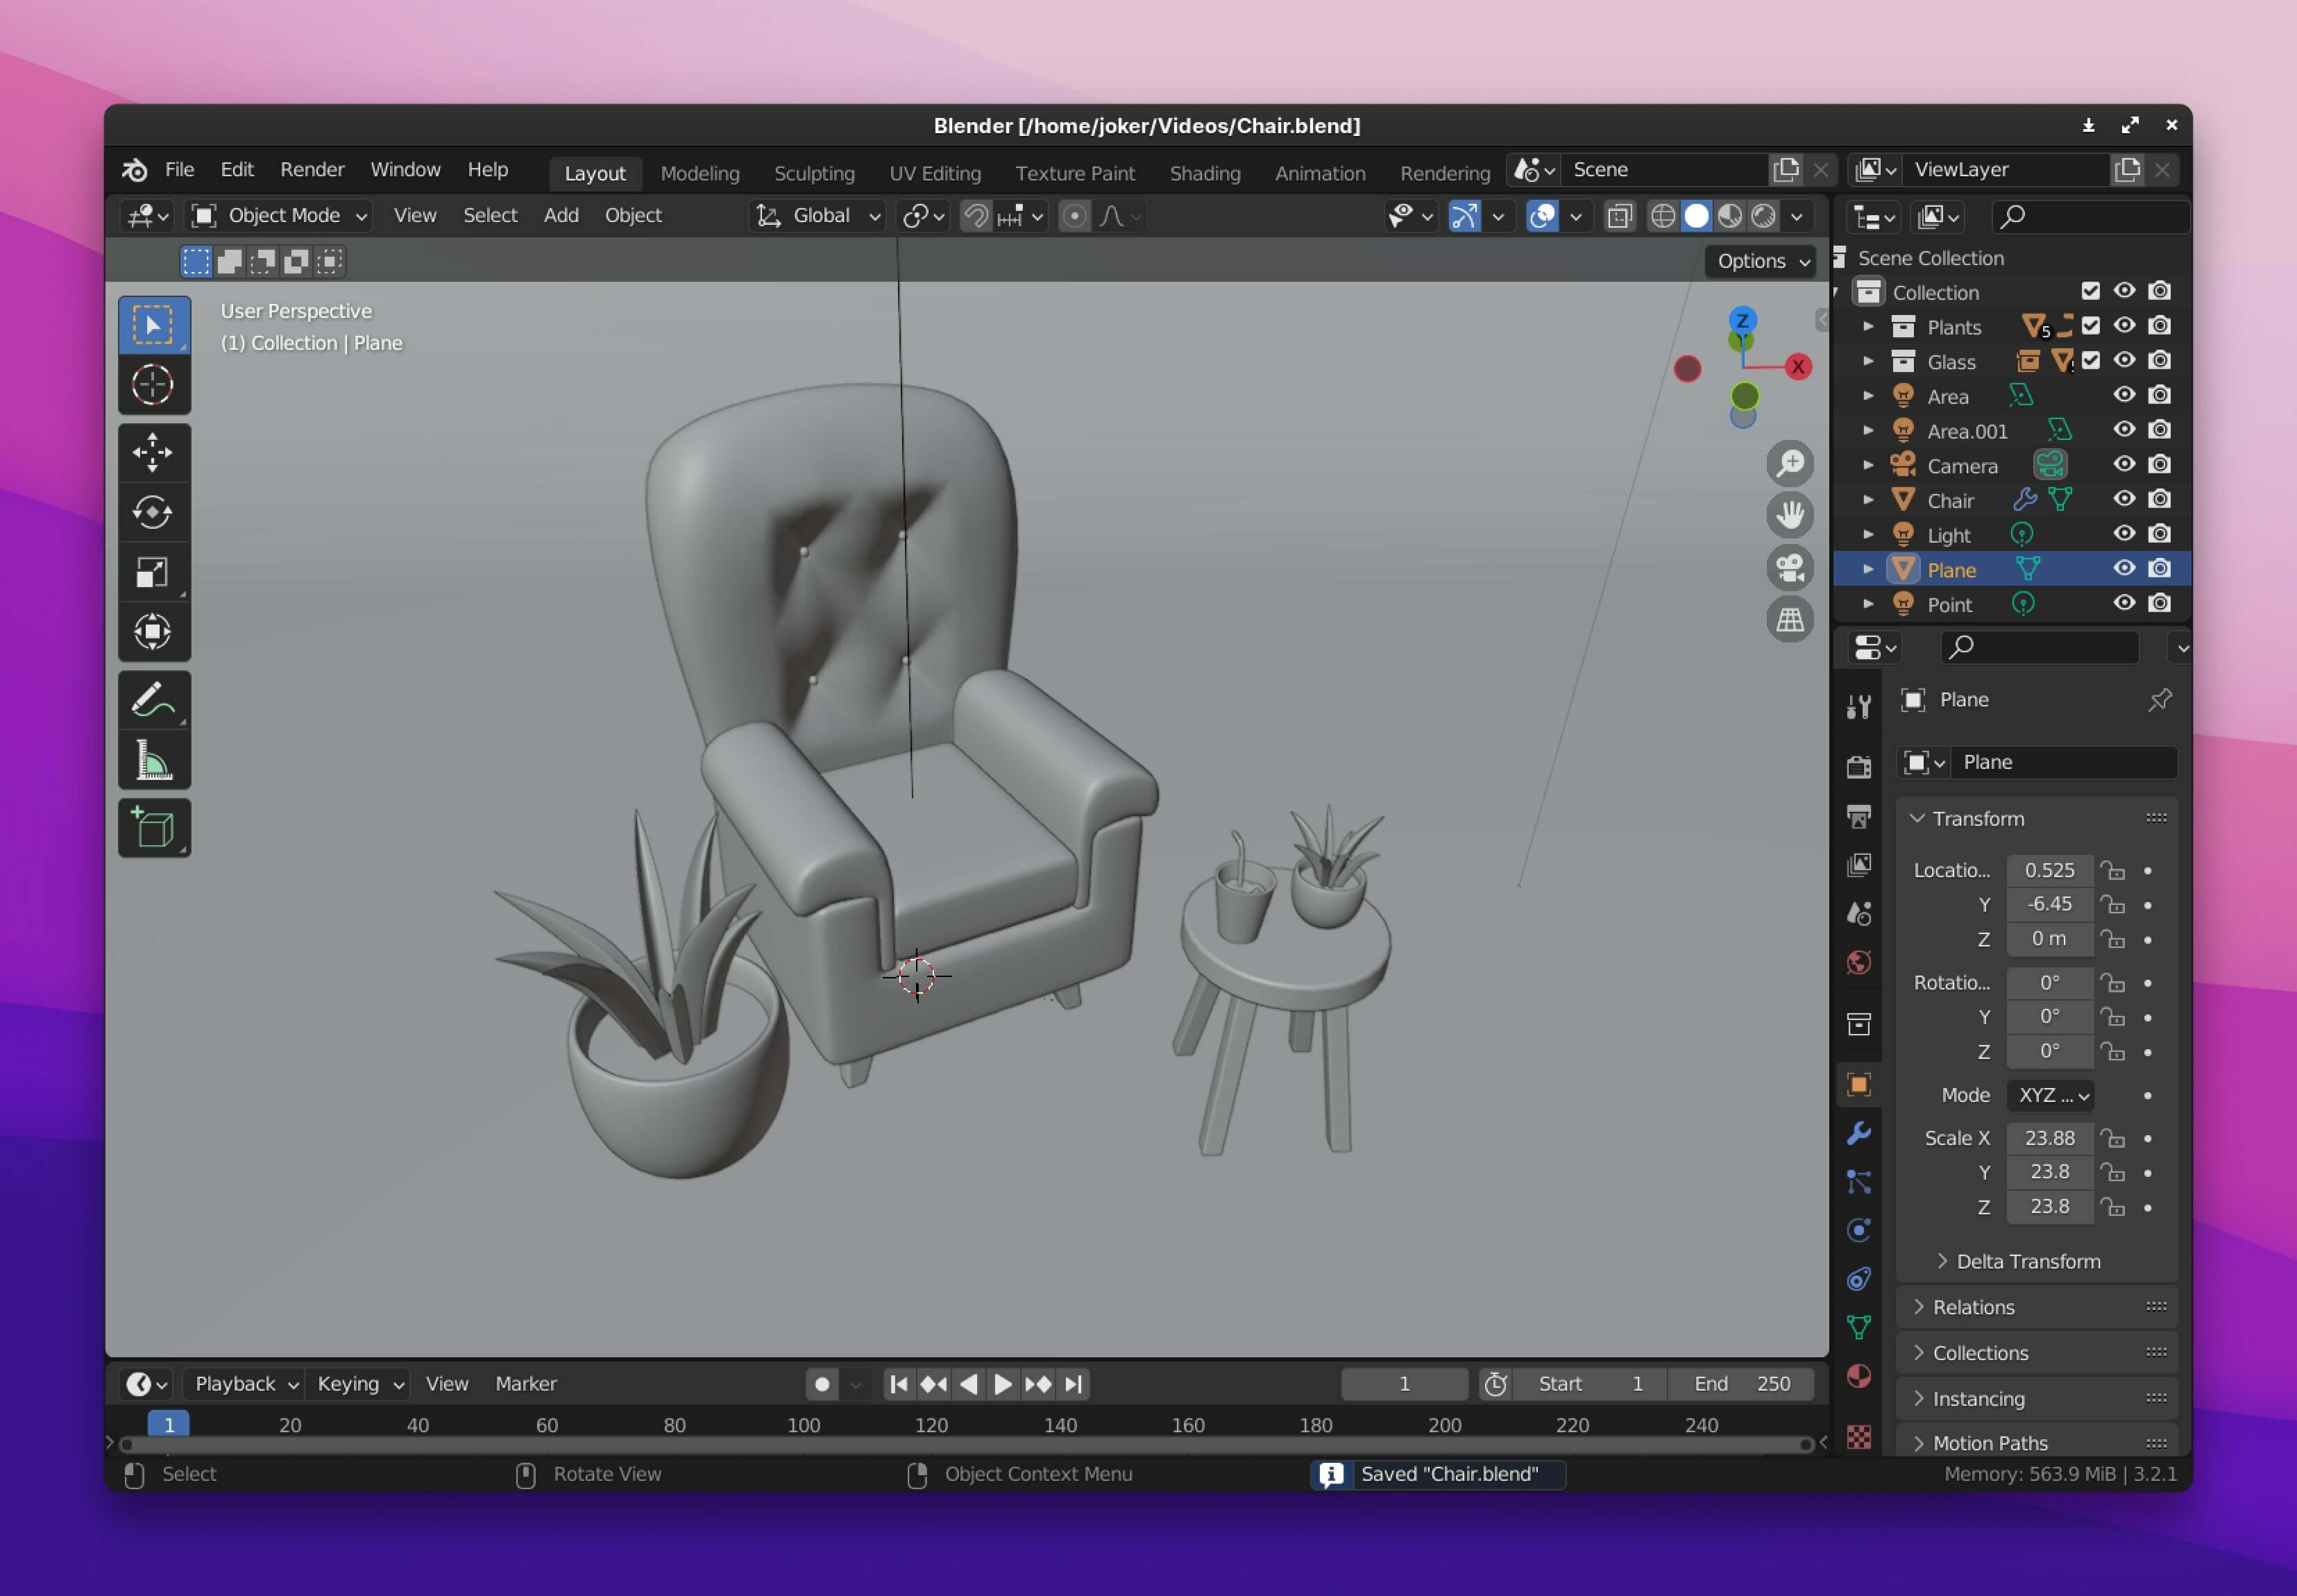
The next step was lighting the scene. This scene uses a total of 6 lights💡.
- 3 Area lights
- 3 Point lights
The 1st area light is used to light up the chair from the top, acting as a ceiling light. The remaining two are used to light up the wall behind the chair.
The 1st point light is used as the primary light. The 2nd is kept behind the chair to give some depth to it. The 3rd one is used to light the table & glass, acting like window light. Here is my lighting setup.
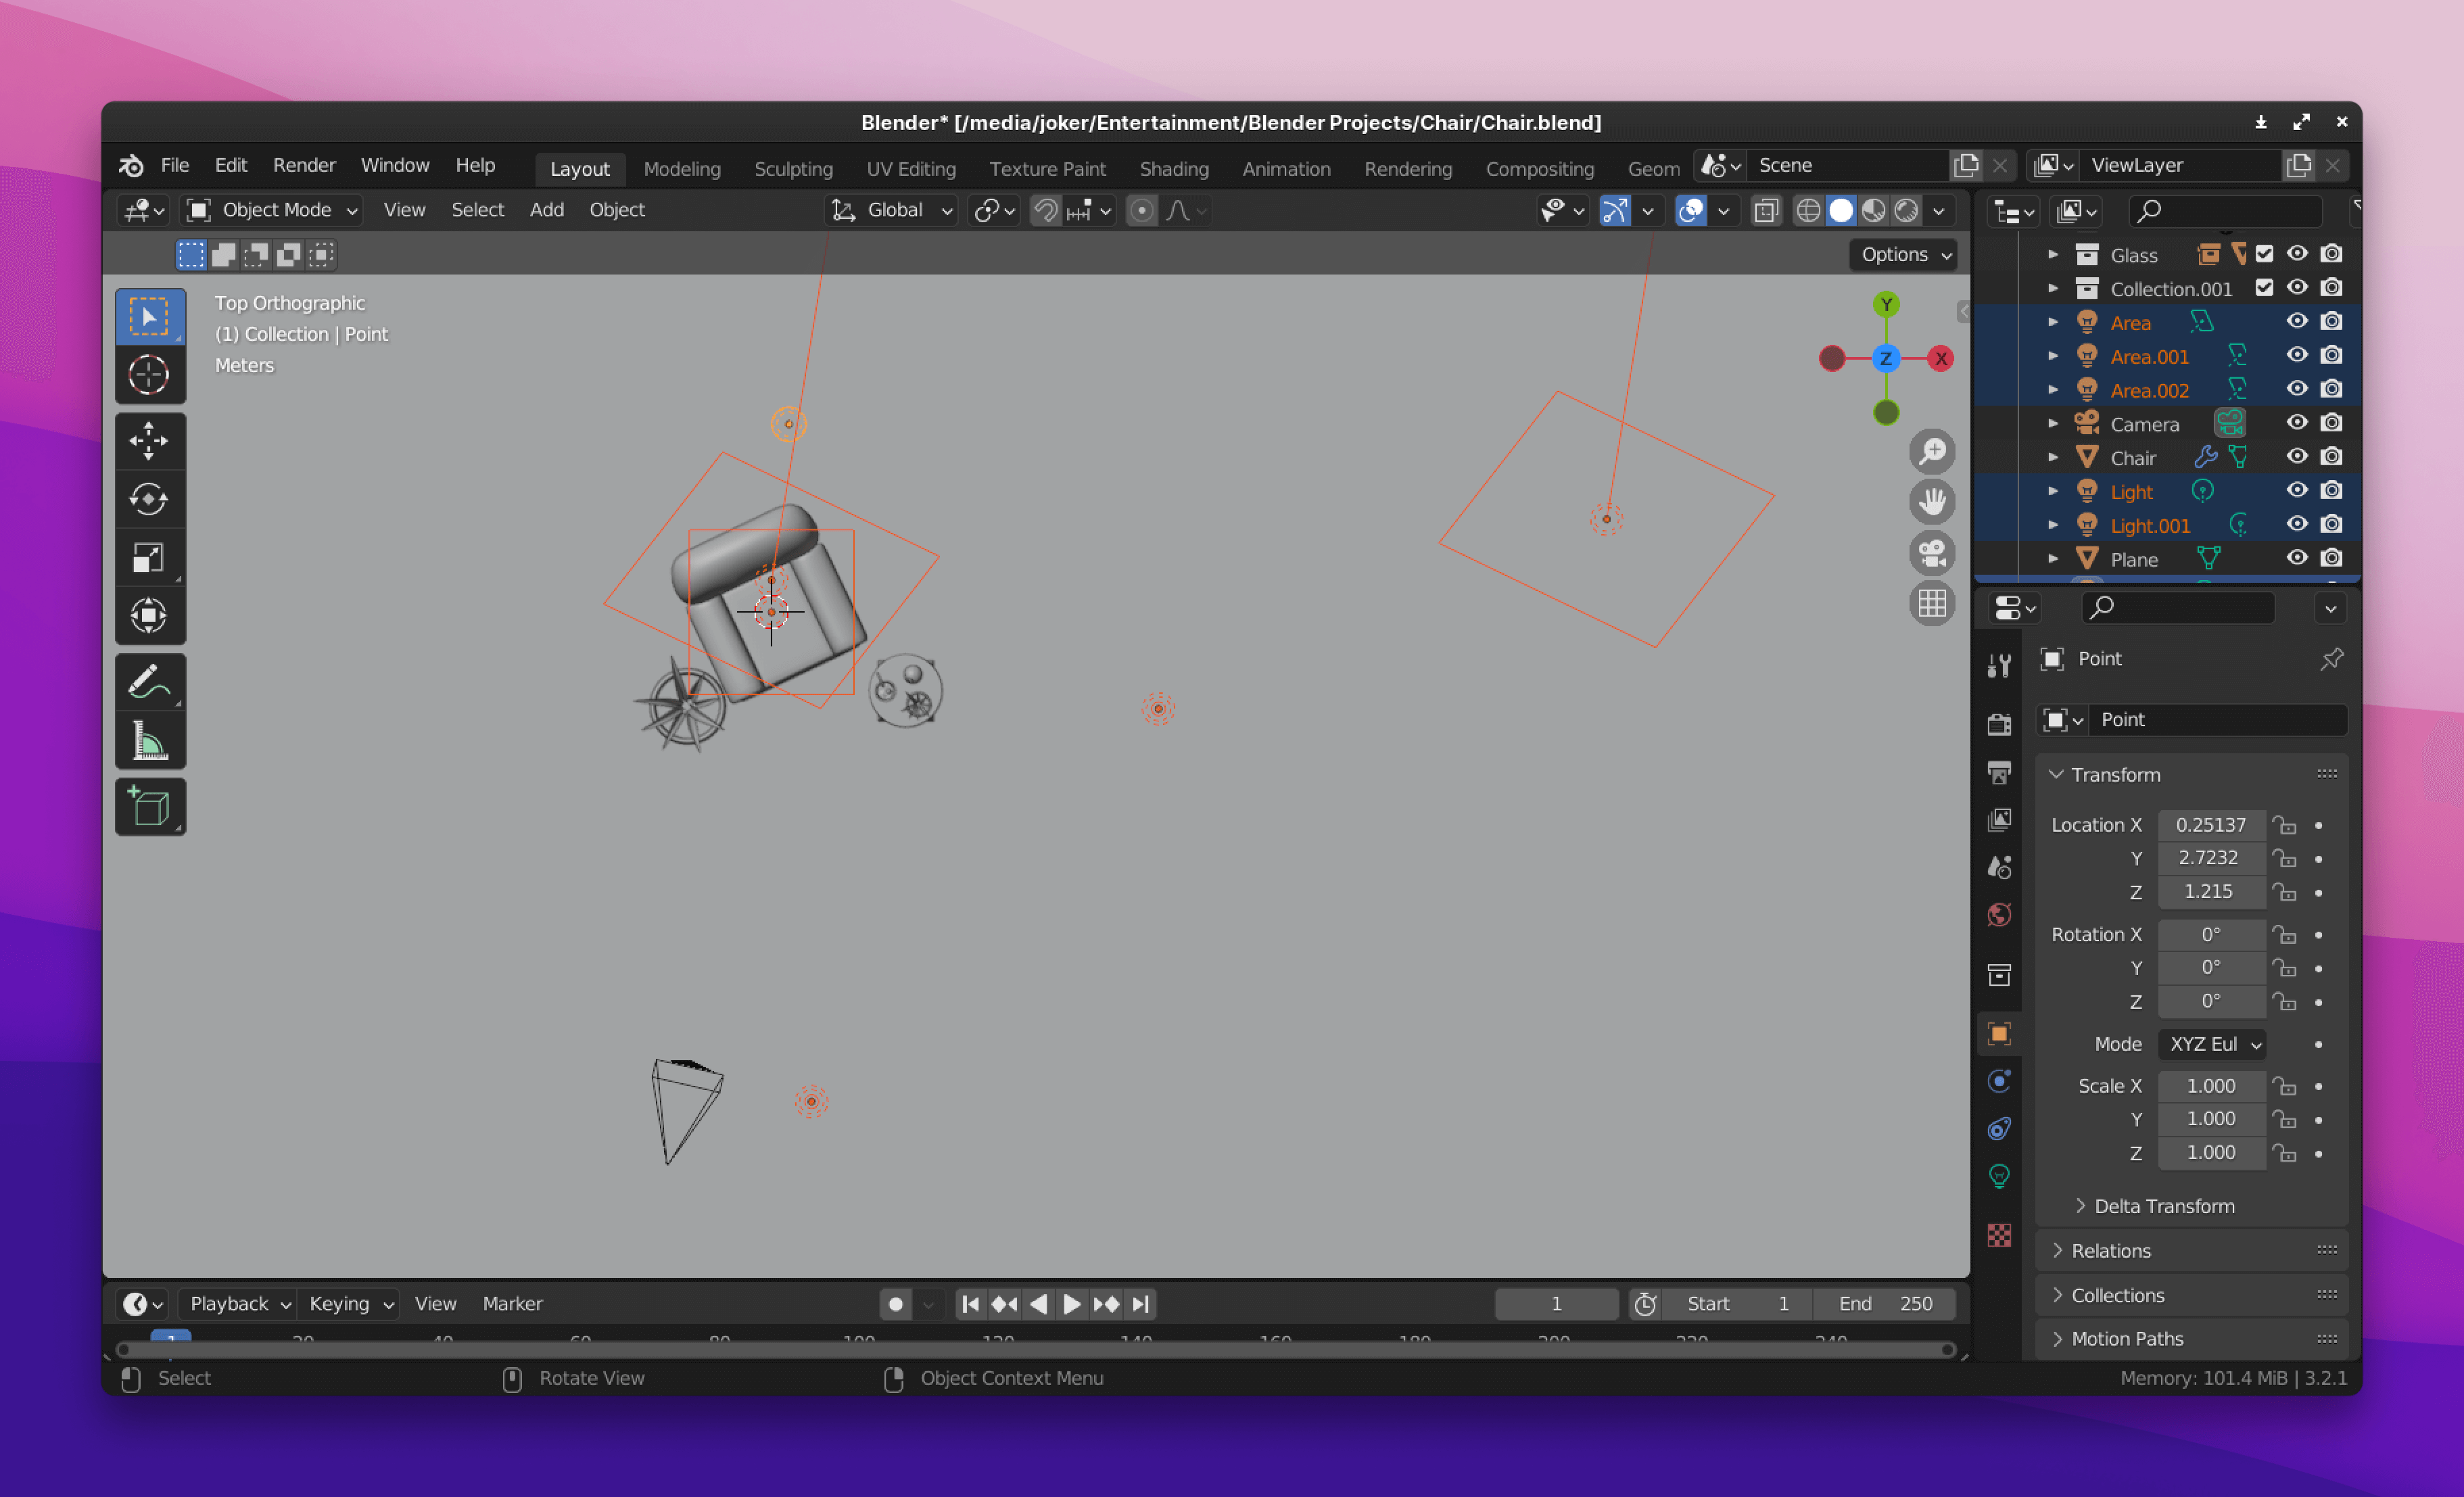
Now the scene is well lit & looks really good. Since the table uses a similar color to the background, I thought of giving it some personality by adding a wood texture.
I had no idea how to do that, so I rechecked Youtube and found two tutorials.
The next step was to find the wood texture. Just a simple Google search gave me plenty of free textures. Here is the link to the one I used.
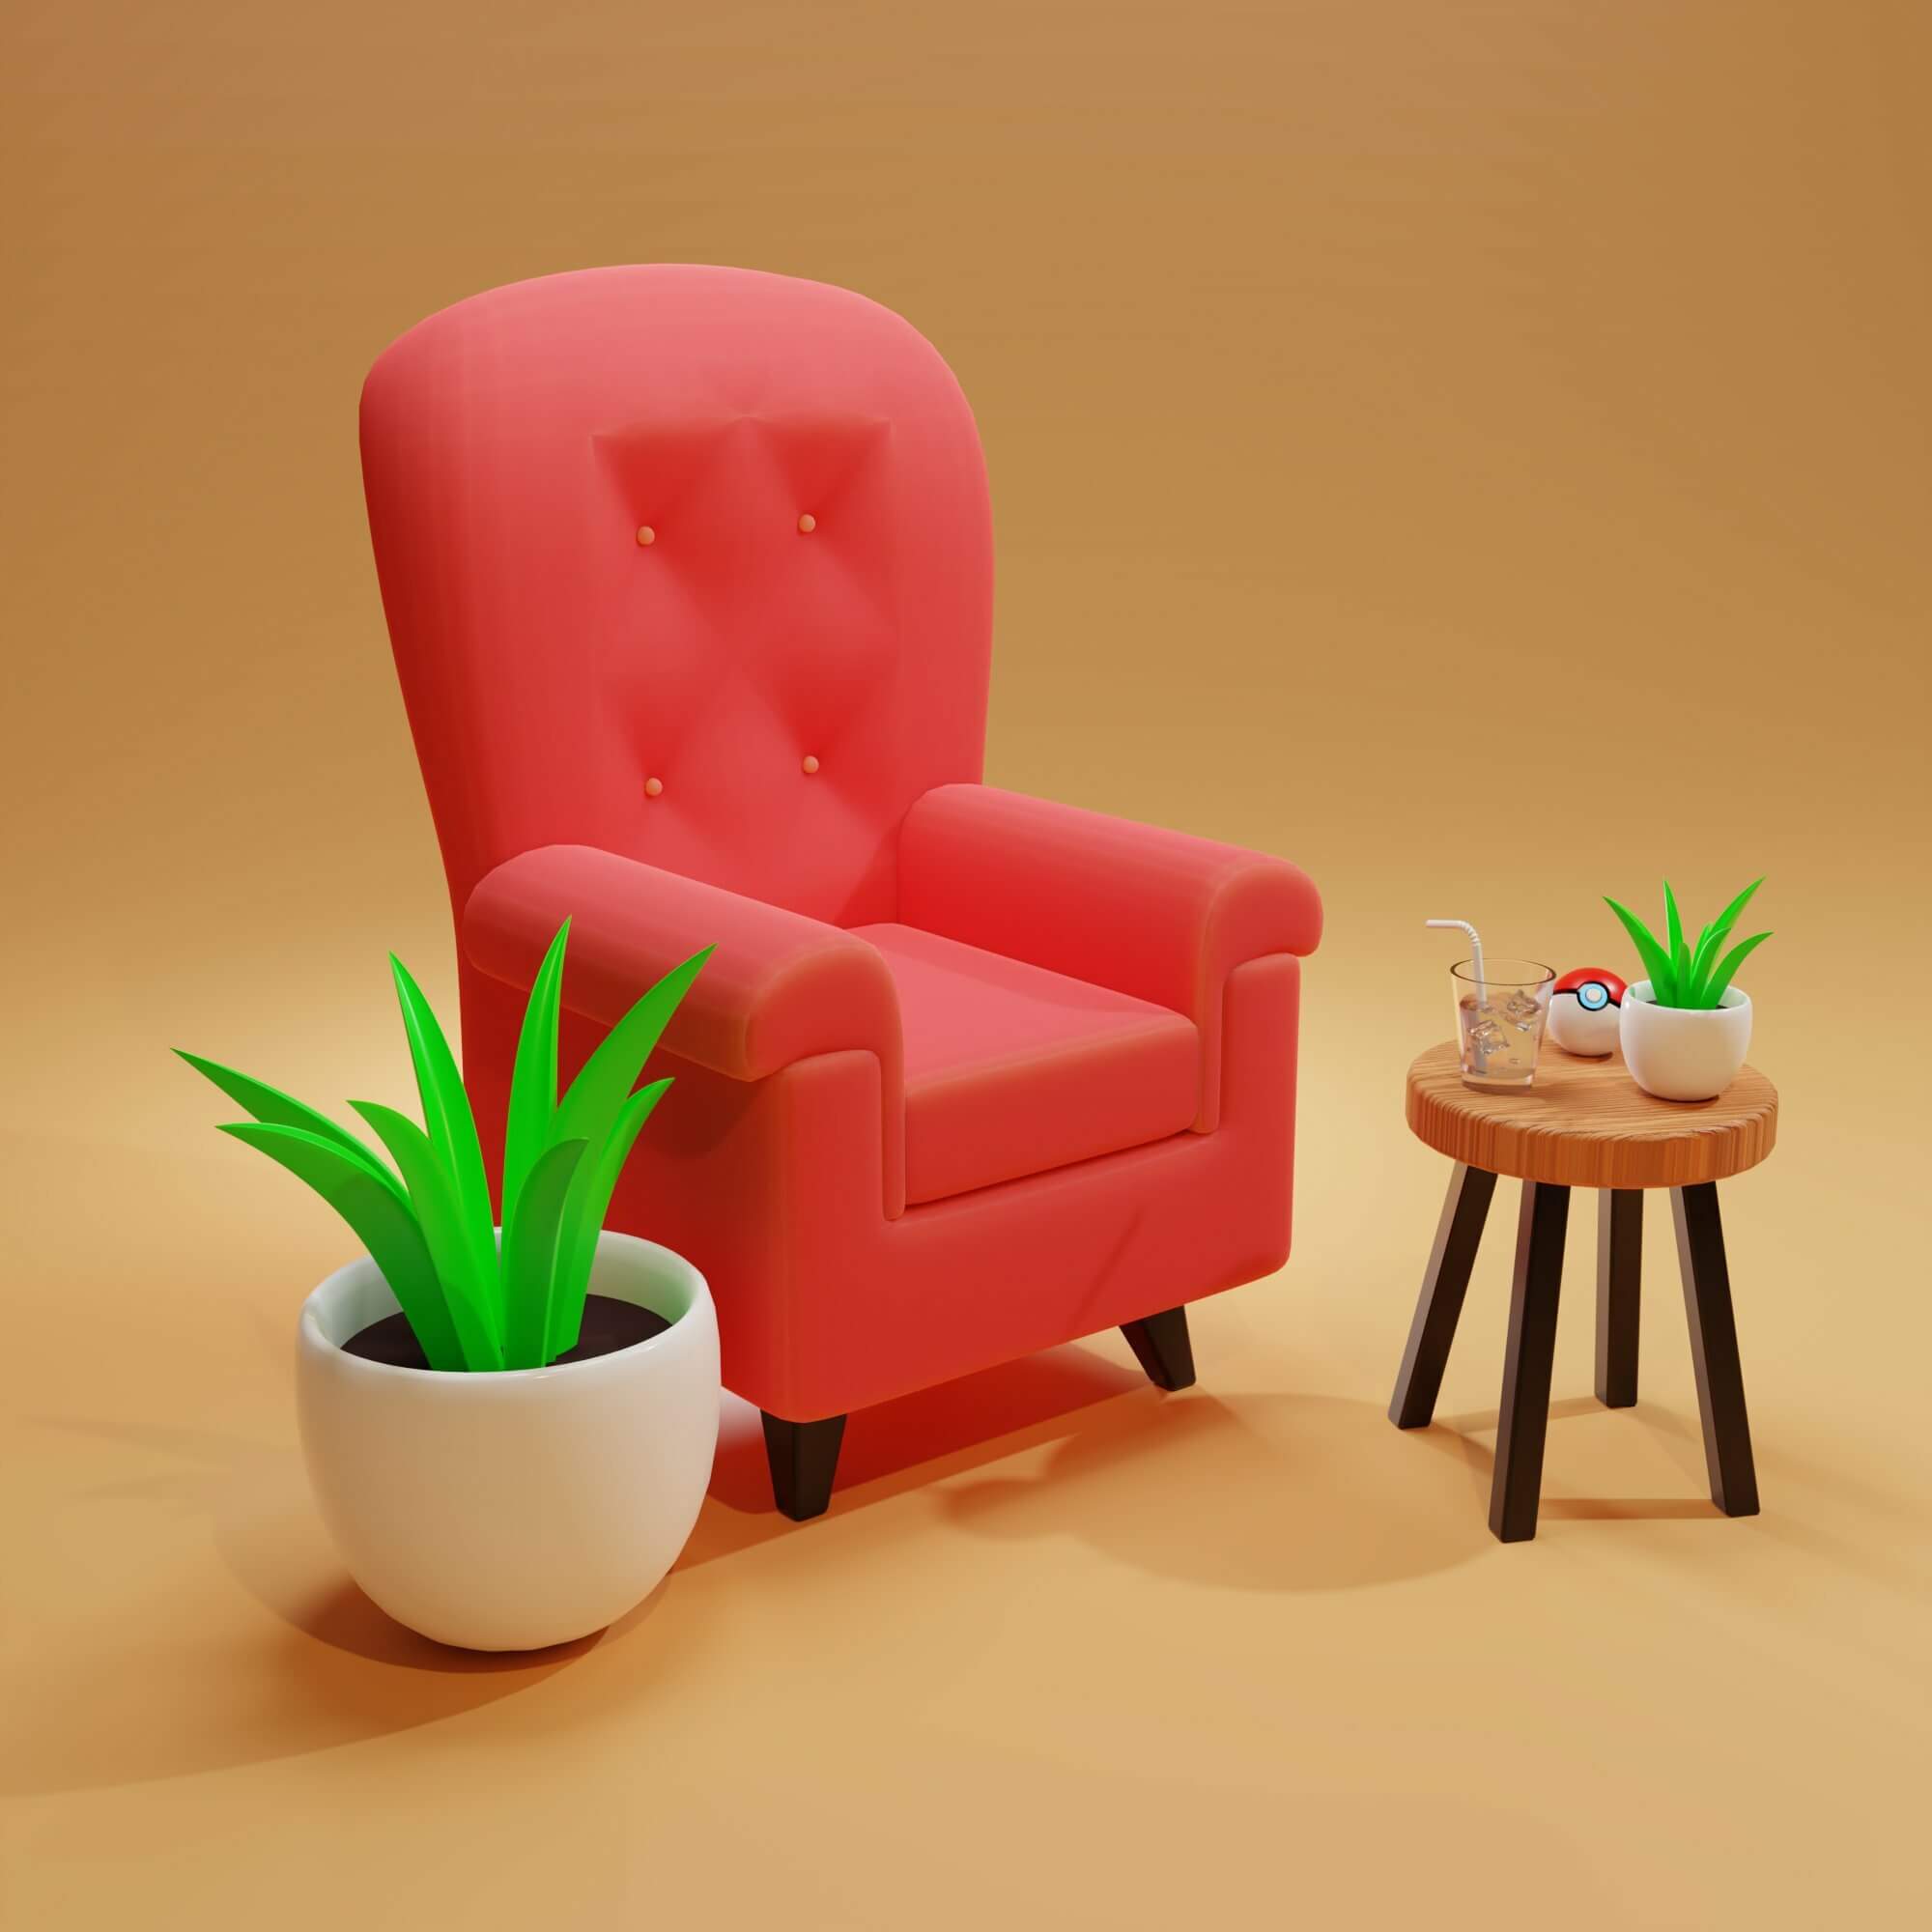
With the help of the tutorial, I added texture to the table. Here is the final render.
Some technical info
- 📄 Max samples - 4096
- 👨💻 Modeling time - 2 hrs
- ⌛️ Render duration - 6 hrs
- 🧹 Noise threshold - 0.009
Here is the blender file of this project. Let’s see what I create next. I hope you enjoyed this blog post.
